Deploy Mendix App to Web for Free
How to deploy a Mendix application to the web for free, and the limitations of a free app.
Overview
You can deploy a Mendix application to the web for free. This is a great way to have users participate in testing and refining the application. This is also a cost-effective (free!) way to deploy a small application that is used infrequently. After about an hour, the application goes to sleep, but automatically wakes up when someone goes to the URL. It may take a minute to start after it has gone to sleep. See Mendix Cloud Free App for details and limitations.
1. Enable Production Security
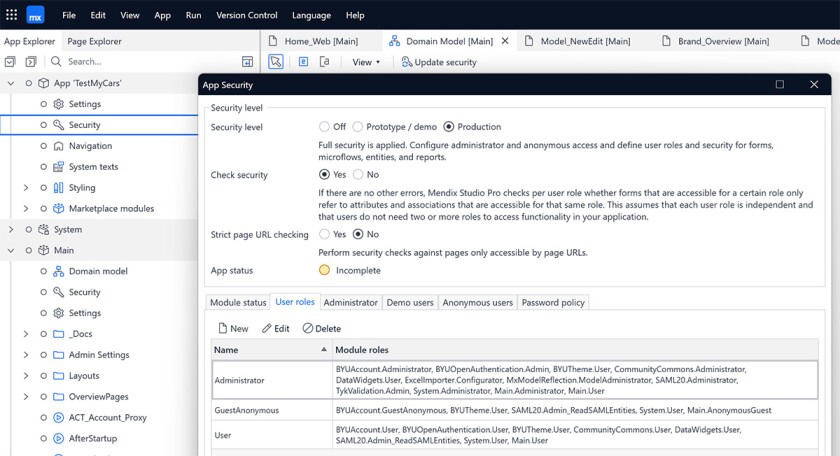
If you built your application from the BYU Starter App, Production security is enabled by default.
Mendix enforces strict security when an application is deployed to the web. Before you deploy to the web, either for free or on a licensed node, you have to enable Production security, which requires that every page, microflow, workflow, and entity that a user may access has security roles assigned to it, and access rules applied that limit the roles to view and update the data, only view the data, or not see it at all.
If you built the app from scratch, go to Security in Studio Pro (top of the App Explorer on the left) and set the Security level to Production. The Console will display errors prompting you to assign roles and access rules to the relevant entities, pages, workflows, and microflows.

For more about security, see Security in the Mendix Docs.
2. Set Up Demo Users
Mendix already has two demo users: demo_administrator, and demo_user, that have the Administrator and User roles, respectively. If you need more users, go to Security in Studio Pro (top of the App Explorer on the left), select the Demo users tab, and New to add them. If you need more roles, go to the User roles tab, add them, and add the relevant Module roles.

To learn about App vs. Module Security and User Roles vs. Module Roles, see Security in the Mendix Docs.
3. Publish
Click on the Publish button at the upper right in Studio Pro to deploy your app as a Free App. It will provision a small app server in the cloud and connect it to a small database. The first time it does this will take several minutes. Whenever you make changes and redeploy, it will also take several minutes.
You will see a message in Studio Pro when it's done publishing, letting you know the app is available. You can see the app in a browser by clicking on the View App button. The URL will be something like https://myapp-sandbox.mxapps.io/.

Behind the scenes, it's compiling and building an app package, posting the package with Cloud Foundry, and deploying the data in an Amazon (AWS) RDS instance and files in an Amazon S3 bucket. You can learn more about the back end architecture in the Under the Hood series of videos at mendix.com.
Under the Hood of Studio Pro Part 1: What happens when you hit publish?
4. Sign in to application
You can only use the Demo users set up in Step 2 to sign in to the app initially.
If you built it from the BYU Starter App, the Sign in button redirects to a BYU Single Sign-on page, which won't work. (You can set up BYU Single Sign-on by following these instructions if you need it.)
Use the Mendix login page to sign in with a Demo user and its password. Append login.html to the URL of the app; for example:
https://myapp-sandbox.mxapps.io/login.html

To get the password for the Demo user, go to Security in Studio Pro, then the Demo users tab and Edit the one you will use. Click on the Copy password to clipboard and paste it into the sign in page. You can't change demo user passwords. They are generated automatically by Mendix.

You can set up the app to use BYU Single Sign-on. Follow the instructions at BYU CAS Single Sign-On.